
By default, the Order Confirmation Message included in your Message Template Library automatically sends to customers as soon as they successfully book a trip online.
This article outlines how you can change or disable these message settings.
Customize Order Confirmation Auto-Send Settings
Expand the items below for details on each order confirmation message setting:
Disable auto-send for all order confirmation messages
If you do not want order confirmation messages to send automatically for any activities in your catalog:
- Go to More > Discover More
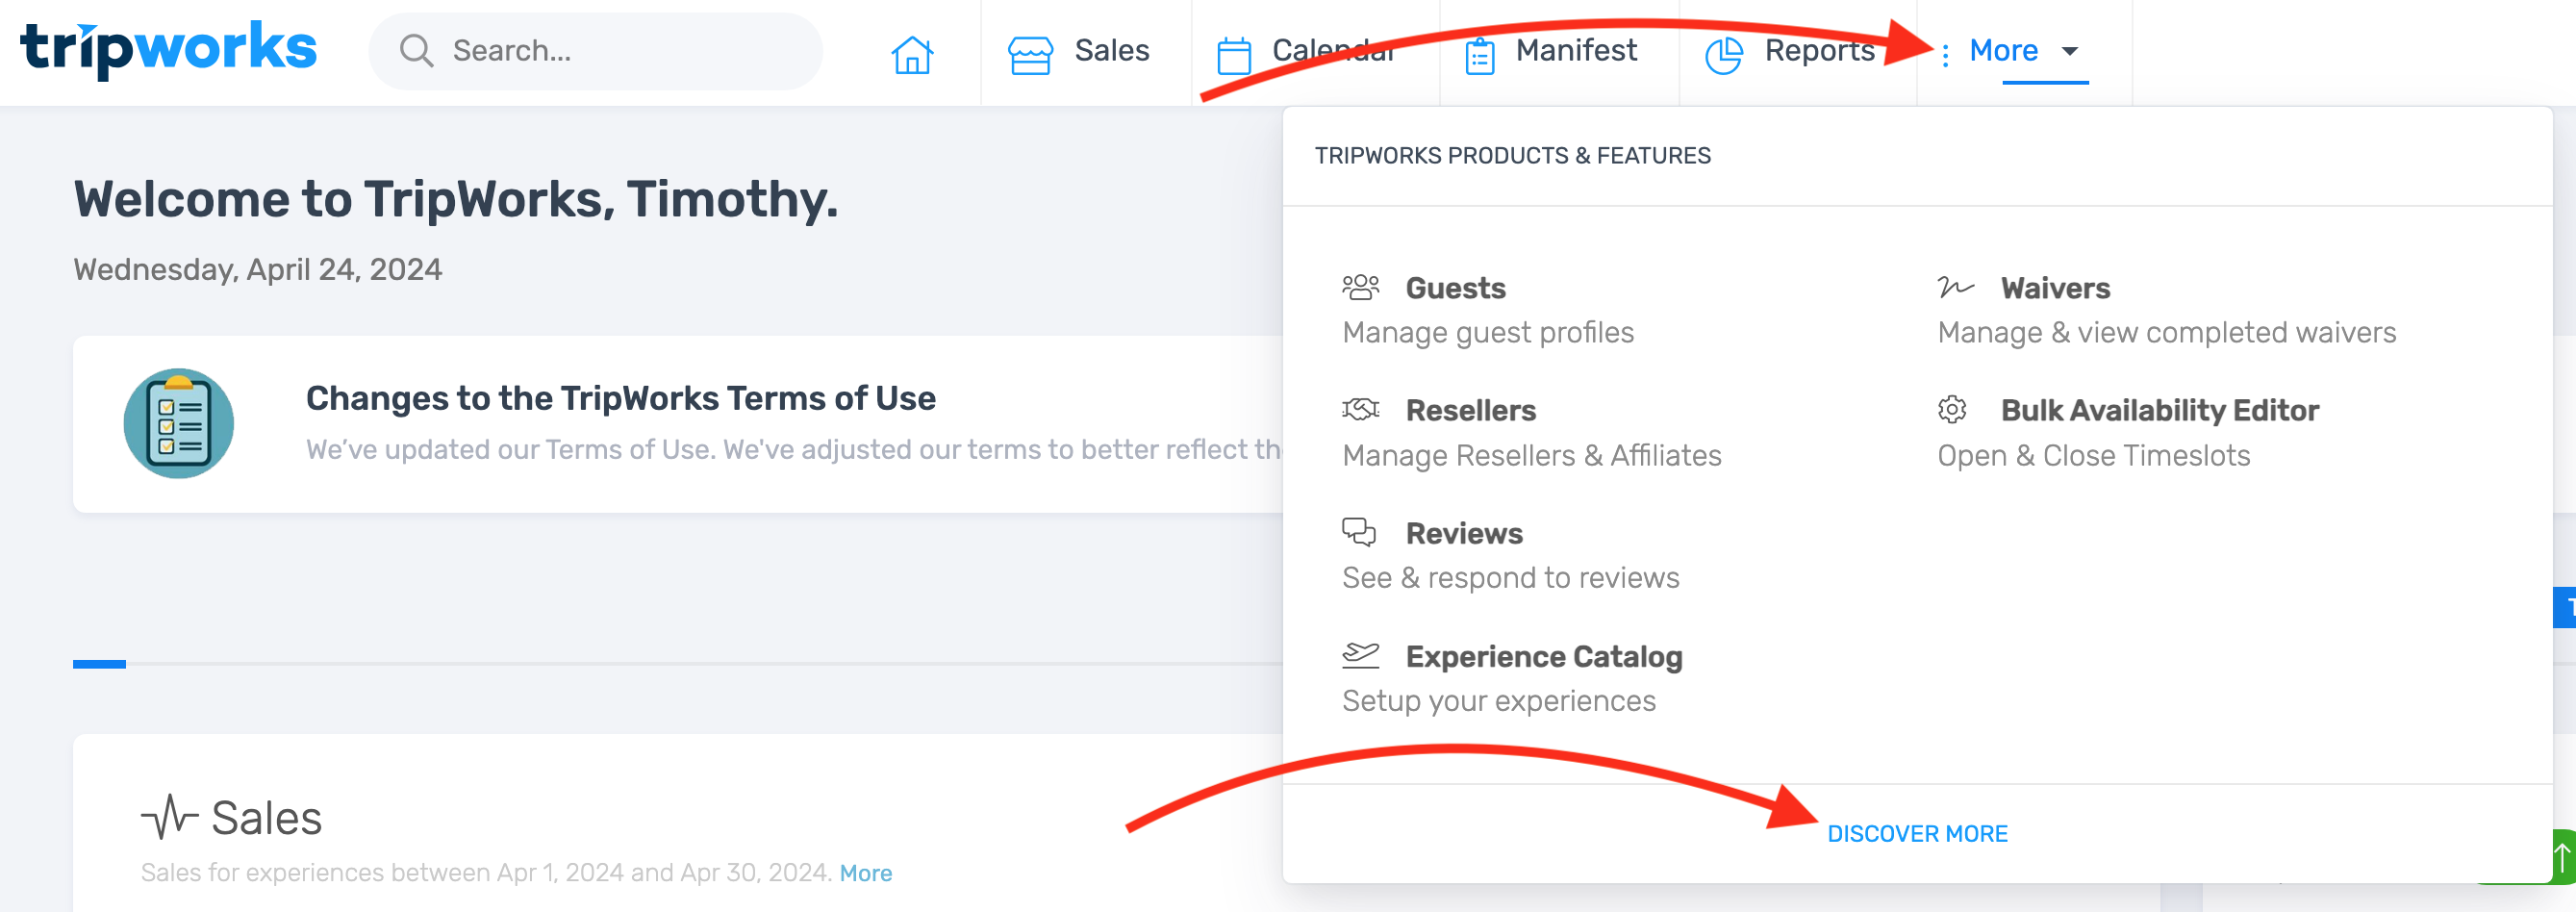
- Choose Automations under the Email & SMS section

- Deselect the "Auto Confirmation" checkboxes

- Save your changes
Disable auto-send for a specific activity in your catalog
If you want order confirmation messages sent automatically for some but not all experiences in your catalog, you will need to navigate to the individual experiences for which you want the feature disabled, then manually disable it. Here's how:
- Go to More > Activity Catalog

- Choose the activity for which you want to disable auto-send settings
- Select Confirmation from the sidebar menu

- Deselect the "Automatically send" checkbox

- Save your changes
Enable auto-send using the Under Review trip status
When a shopper books a trip online, your TripWorks account will, by default, update the Trip Status from Draft to Reserved. However, you can change this default setting so that, when a new trip is booked, the status changes to Under Review rather than Reserved.
If your team utilizes the Under Review trip status, you can update your auto-send message settings so that shoppers receive a confirmation message when a trip's status changes to Under Review. Here's how:
- Enable the Under Review Trip Status for the desired activity
- Go to More > Discover More
- Choose Automations under the Email & SMS section
- Select the "Review" Auto Confirmation checkbox and choose the desired message template from the drop-down menu

-
Save your changes
Pro Tip
In addition to using the Under Review and/or Reserved trip statuses to trigger order confirmation messages, you can also Enable Alerts for each trip status. Alerts notify members of your team that an action has taken place.
Enable auto-send for rescheduled/rebooked trips
When you Reschedule a Trip, you may opt to send the customer a rebooked trip message — a special sub-category of order confirmation message. You can send rebooked trip messages manually or automatically. To learn more, see Rebooked Trip Messages.

Edit or rewrite a selected message template
If you want to edit or rewrite an order confirmation message, rather than create a new one from scratch, see Edit an Existing Message Template.

Select a different message template to auto-send
- Go to More > Discover More
- Choose Automations under the Email & SMS section
- Ensure the "Auto Confirmation" checkbox associated with the desired trigger is selected

- Select the desired message template from the drop-down menu. If the message template you want to select does not yet exist, you will need to Create a New Message Template, then return to this screen and select your new template from the drop-down

- Save your changes
Select a message template that's missing from the drop-down menu
If there is a specific message template you want to select but do not see in the drop-down menu, you will need to assign the message template to the Confirmation template category. For details on assigning your message template to a different category, visit Edit an Existing Message Template.
