Work Groups allow you to assign users to specific teams, such as guides, pilots, or instructors, and then easily assign those teams to your activities. You can track which users have been assigned to trips, manage their availabilities, subscribe to their calendars, and more.
This guide will walk you through the process of setting up and managing your Work Groups.
How to Set Up Work Groups
Step 1: Create a Resource Group for a Group of Individuals
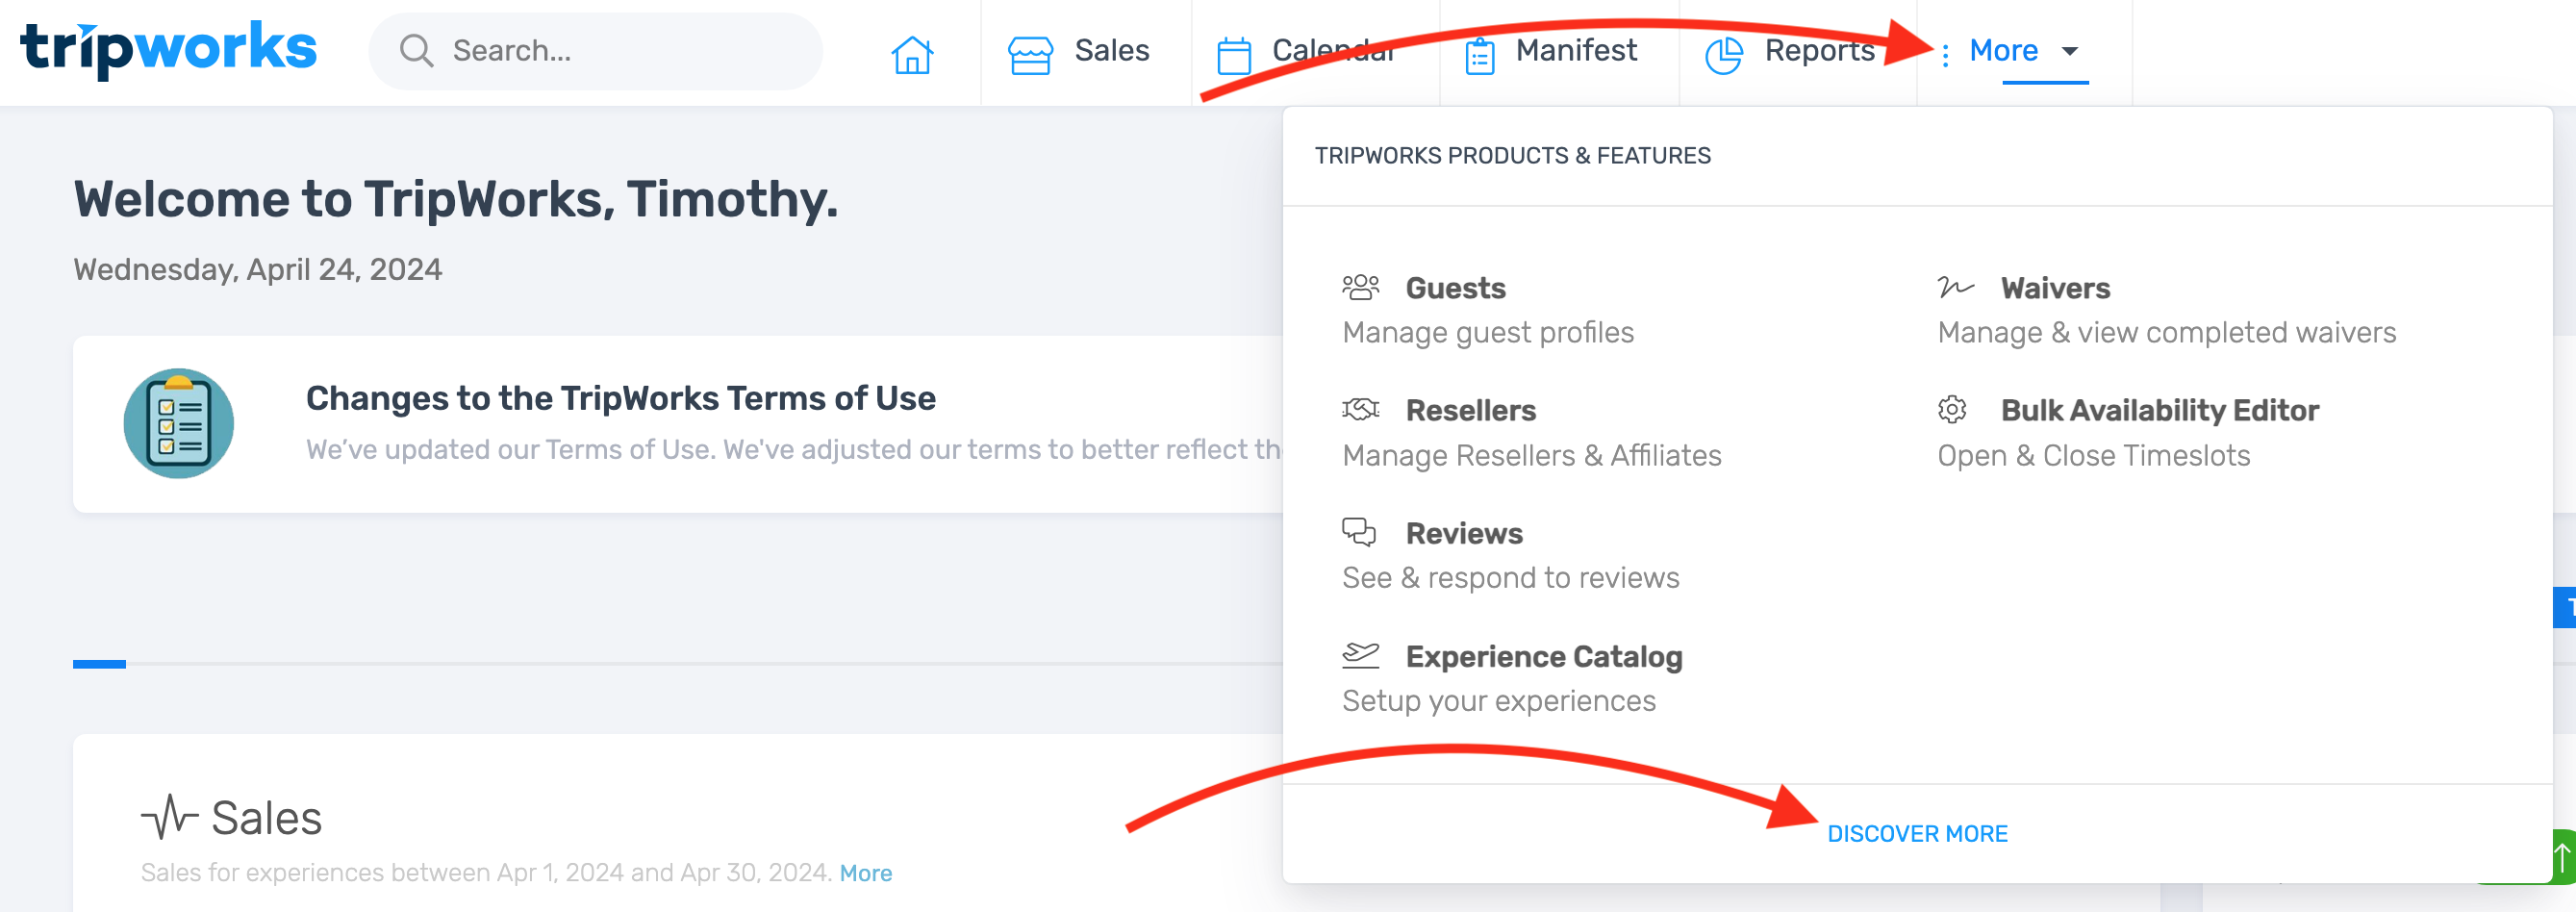
- From the toolbar, go to More > Discover More

- Choose Resources from the menu

- Select Resource Groups > Create a Resource Group

- Add a Singular and Plural name for your Resource Group
- Select Group of Individuals from the Type dropdown

- Select Save
Need help with Resources?
Learn more about Creating Resources and Resource Groups here or contact our support team: support@tripworks.com.
Step 2: Assign Team Members to a Work Group
- From the toolbar, go to More > Discover More

- Select Team Members

Need help adding Team Members to your account?
Learn how to Invite Users to Your TripWorks Account.
- Choose the team member you want to assign to a Work Group
- Select Work Groups

- You'll see a list of all Resource Groups labeled as “Group of Individuals.” Select the appropriate group for your team member

- Save your changes
Step 3: Assign Work Groups to Activities
With your Work Groups set up, it's time to link them to your activities to ensure your team members are properly assigned to booked tours.
Learn how to Assign Resources Usages to Activities.
Next Steps
Users within a Work Group often times want to view their schedules on a calendar. Learn how to set up your calendar so all booked trips a member of a work group is assigned to can view their day to day schedule: Subscribe to a Team Member Calendar.