
Use the widget builder to create embeddable booking widgets for your website or shareable booking links. Each widget can display a specific activity, a category, or your full catalog — and can be embedded as an iframe, a button, a direct URL, or a QR code.
Create a widget
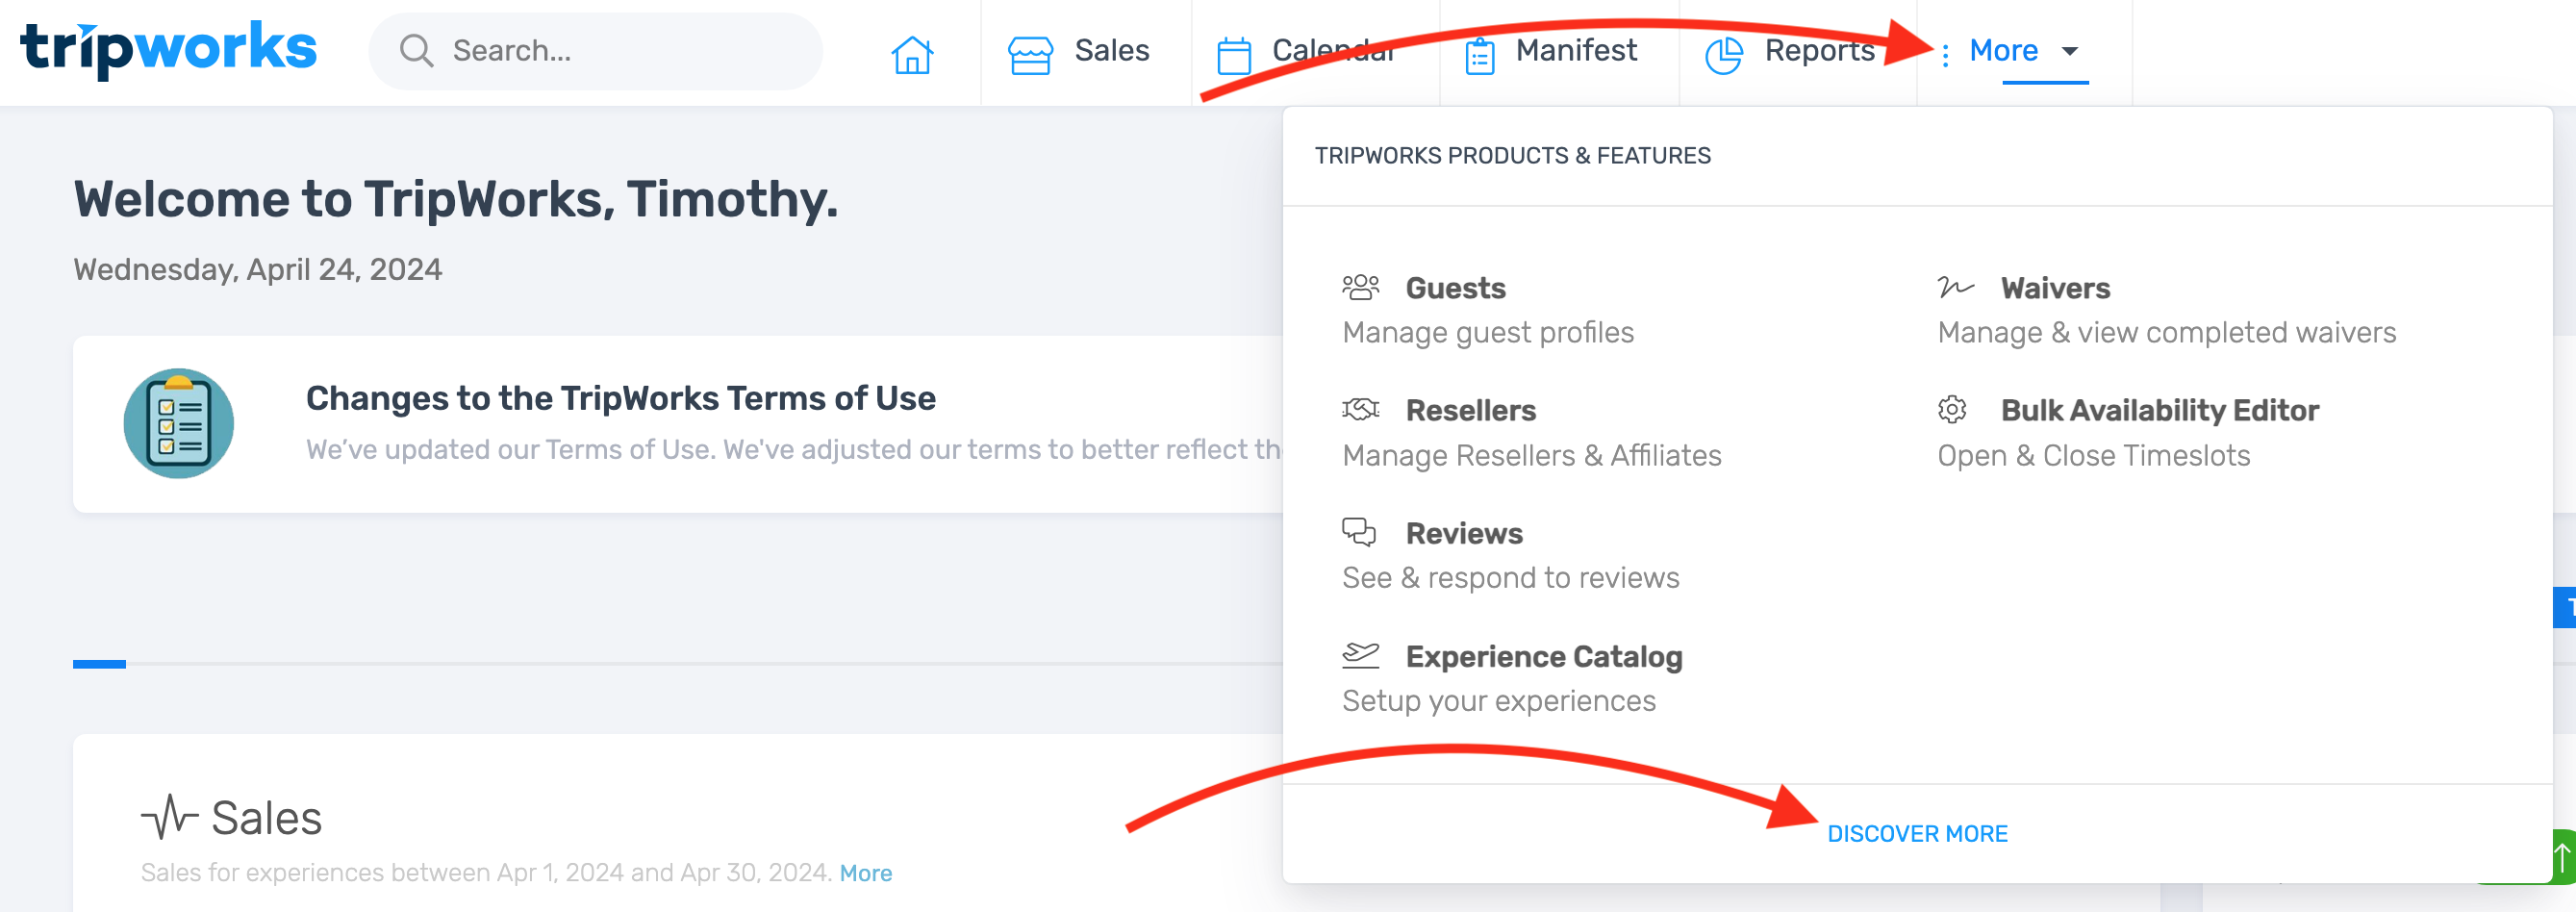
- Select More > Discover More from the toolbar.
- Select Booking Widgets from the menu.

- Select Create Widget.

Configure settings
Widget name
Enter a descriptive name — for example, "Main Website Widget" or "Partner Site – Summer Tours." This is internal only and helps you manage multiple widgets.
Activity selection
Choose which activities appear in the widget:
- All activities — shows your entire catalog
- Individual activities — select specific activities from the dropdown
- All items in a category — display activities from a specific category

Display options
Default view — the initial view customers see when the widget loads: Catalog, Calendar, Agenda, Categories, or Gift Cards.
Item layout — the card style used for activities:
- Default — standard view, 3–4 columns
- Compact — smaller cards, 6-column layout
- Expanded — detailed cards showing pricing, duration, and additional information
Hover over the tooltip icon next to each option to see a visual preview.

Additional settings
- Language and display mode — choose the widget language and whether to show Full Details or Compact view (calendar, tickets, and timeslots only).
- Show Dynamic Pricing — displays pricing on the calendar when dynamic pricing is enabled for your activities.
- Show Ticket Prices — displays prices on ticket types and timeslots. When enabled alongside all-inclusive pricing, ticket prices include all fees.
- Hide Navigation Bar — removes the navigation bar from the top of the widget. Useful for embedded calendar views.
- Default to "Choose Date Later" — lets customers purchase vouchers upfront and select a date later. Only applies to activities with vouchers enabled.
- Enable Reseller Attribution — attributes all bookings through this widget to a specific reseller. Reseller widgets can also be created from the reseller profile.
Custom CSS and button colors
The widget builder includes a Code tab where custom CSS and JavaScript can be applied. This tab is visible in the interface but is restricted to TripWorks staff for security reasons.
To customize button colors, fonts, or other widget styling, contact your TripWorks account manager with a description of the changes you'd like — including any specific colors or brand hex codes.

Preview and publish
Use the mobile and desktop toggle to preview your widget on different devices. When the settings look correct, select Create Widget.

Manage existing widgets
After creating a widget, it appears in your widget list with its ID, configuration summary, and action icons.
Edit a widget
- Select the edit icon next to the widget.
- Update any settings.
- Select Save.
Changes apply everywhere the widget is installed automatically — no need to update embed codes.

Embed a widget
Select the embed icon to access installation options:
- Embed Code — paste the provided code into your website. Choose whether activities open in a lightbox or redirect to a new page.
- Button — generate a button-style widget with customizable text and styling.
- Direct URL — a shareable link to your booking widget. Use this for email campaigns, social media, or anywhere a plain link is more appropriate than an embedded widget.
- QR Code — download a QR code that links to your widget. Useful for printed materials or signage.

Copy a widget
Use the copy icon to duplicate a widget's configuration. Useful when you need similar widgets for multiple websites with minor differences.
