
Collecting tips after an activity can be a great way to reward your team for their hard work. This guide will walk you through the steps to set up a link for collecting tips that can be sent to customers after their scheduled activity.
How to Add a Tip Button to Follow-Up Emails
Step 1: Enable the Customer Portal Tipping Option
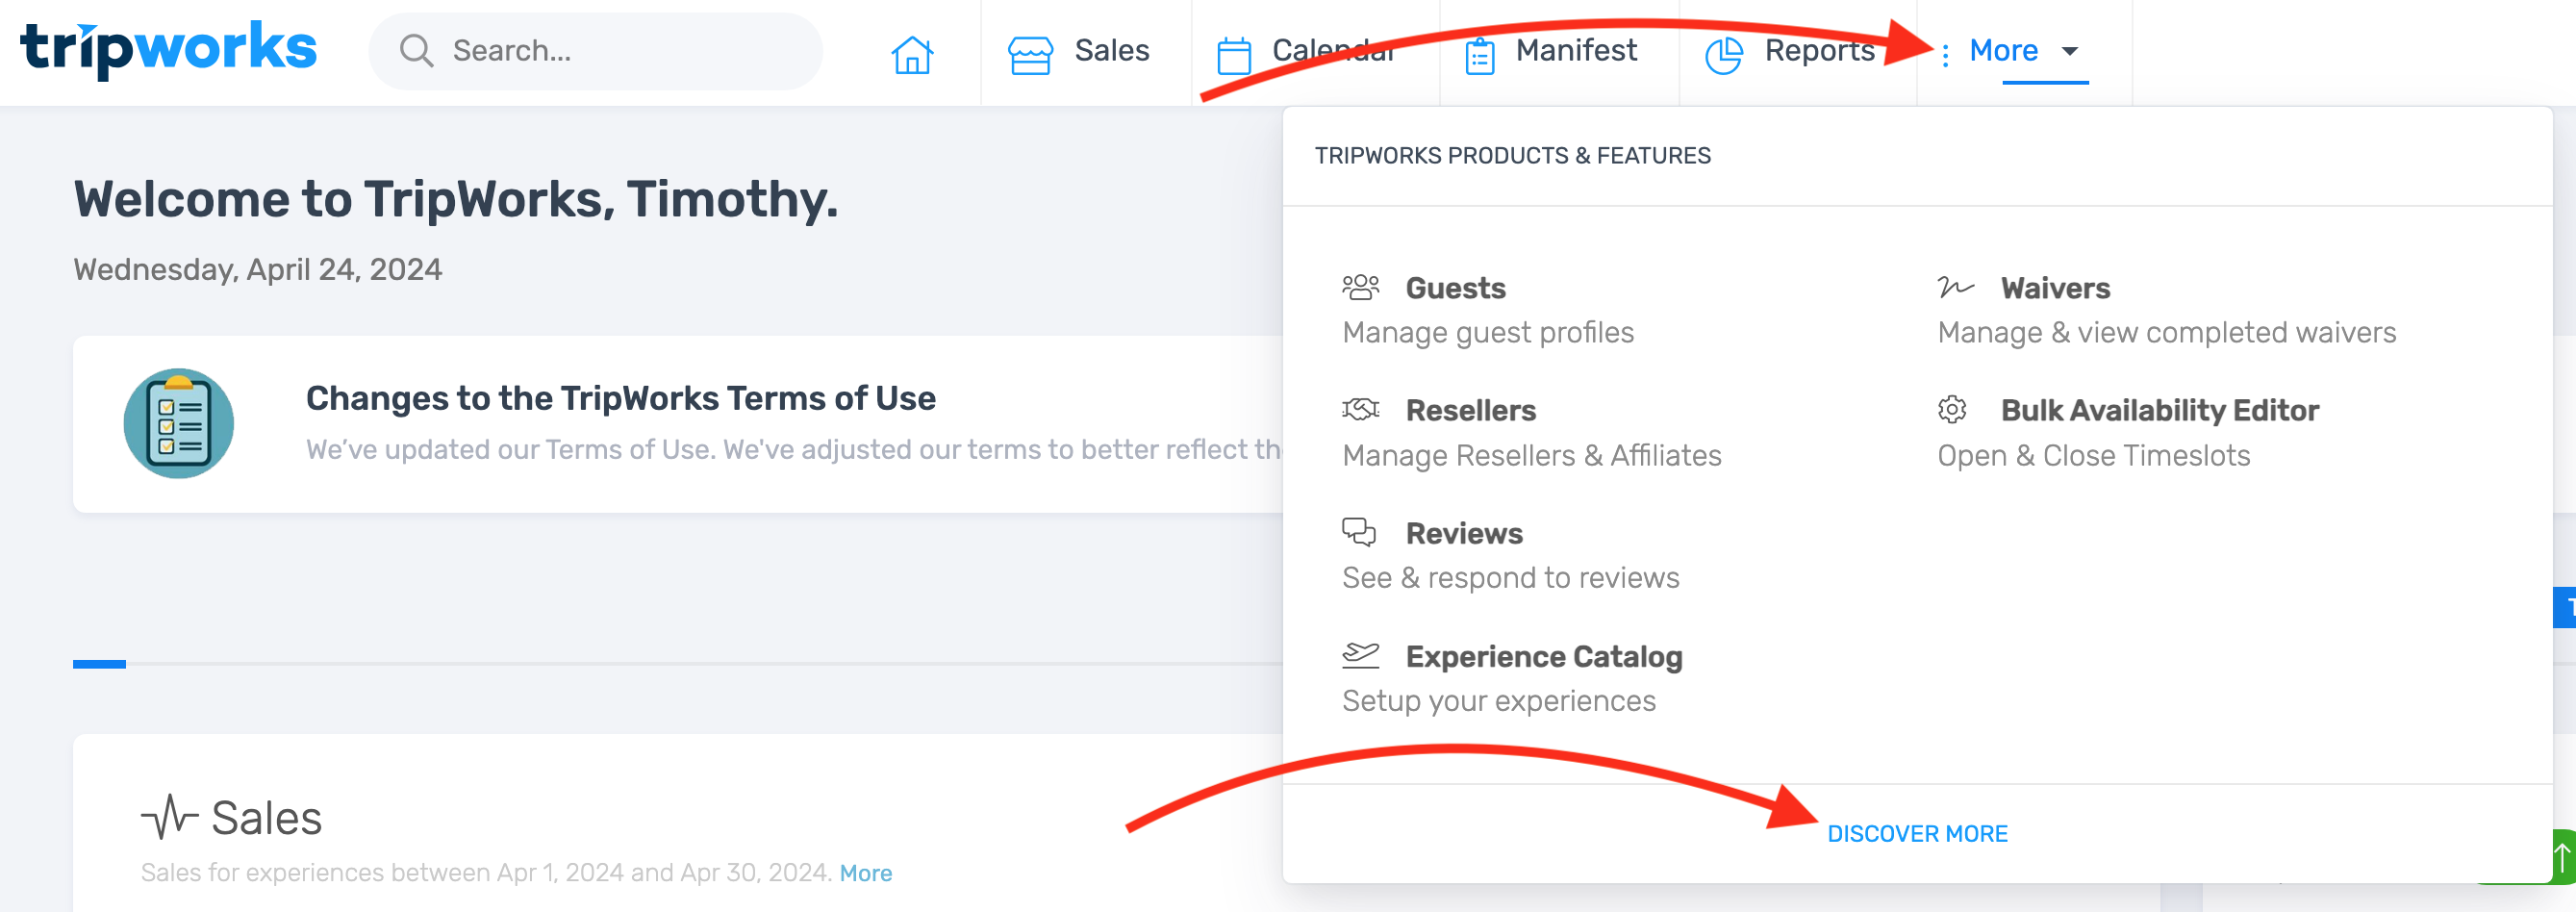
- Select More > Discover More from the toolbar
- Choose Point of Sale & Tips

- Select Tips

- Check the box to Accept Tip on Customer Portal

- Select Save
When your tip settings are saved, your customers will begin seeing the tip prompt both before their scheduled activity date/time:

and after their scheduled activity date/time:

If selected, the customer will then be prompted to select their tip amount:

Step 2: Add a Tip Button to Your Follow-Up Email Template
- From the toolbar, select More > Discover More
- Select Message Templates

- Select the template you want to edit or Create a New Template
- Customize the template as needed, and Add a Button labeled ‘Leave a Tip’, for example, that links to the Customer Portal

Your email will look something like this:
