Each time you add a new experience to your catalog (whether by creating a new experience or copying an existing experience), you will need to define some basic settings before you can accept bookings for that experience. This article offers examples and guidelines on how to do just that. Specifically, you will learn how to approach these four key components of experience setup:
- Basic info - Where you define the naming, duration, and pricing details of the experience
- Descriptions - Where you provide experience details to potential customers
- Policies - Where you may state experience-specific policies and notes for customers
- Advanced - Where you can set experience-specific rules about correlating advanced features
Define Basic Settings for an Experience
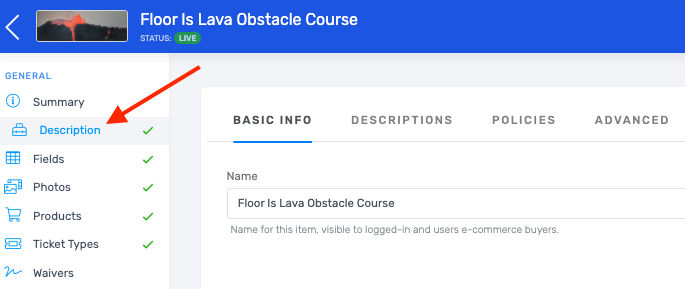
- Navigate to the desired experience by selecting More > Experience Catalog from the toolbar, then choosing the experience from the list.
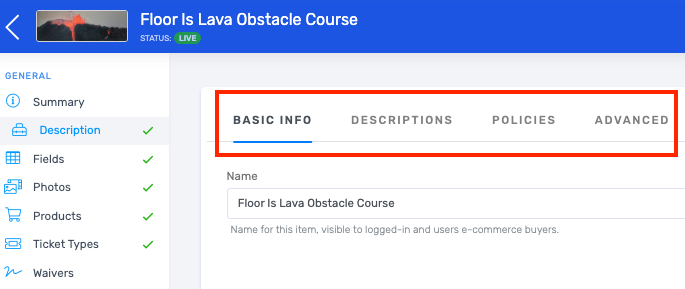
- Select Description from the sidebar menu to reveal the Basic Info, Descriptions, Policies, and Advanced tabs.
- At a minimum, you'll need to complete the required fields that live under the Basic Info and Descriptions tabs, though you'll find examples below that offer guidance on all four tabs (including optional settings).
- Be sure to select the Save button after filling out each tab.
Basic Experience Settings: Examples & Guidelines
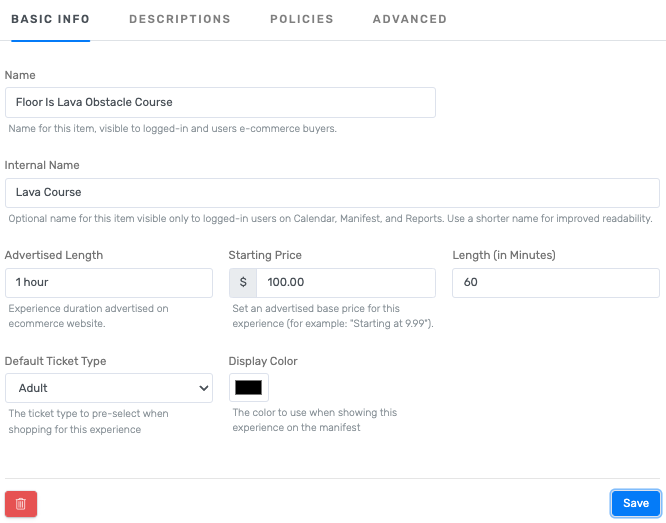
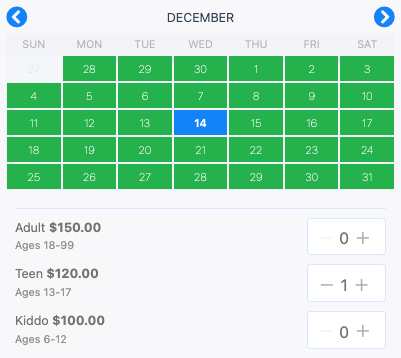
Basic Info
The Basic Info tab is where you define the naming, duration, and pricing details of the experience. Both these and the default ticket type (see callout below) can be adjusted at any time.
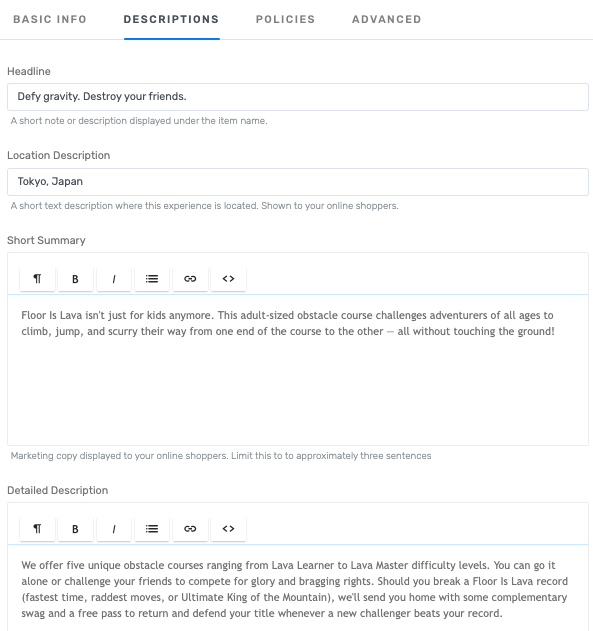
Descriptions
The Descriptions tab allows you to communicate experience details to potential customers. The information contained in these fields is what customers will see when they select this experience from the catalog before completing their booking.
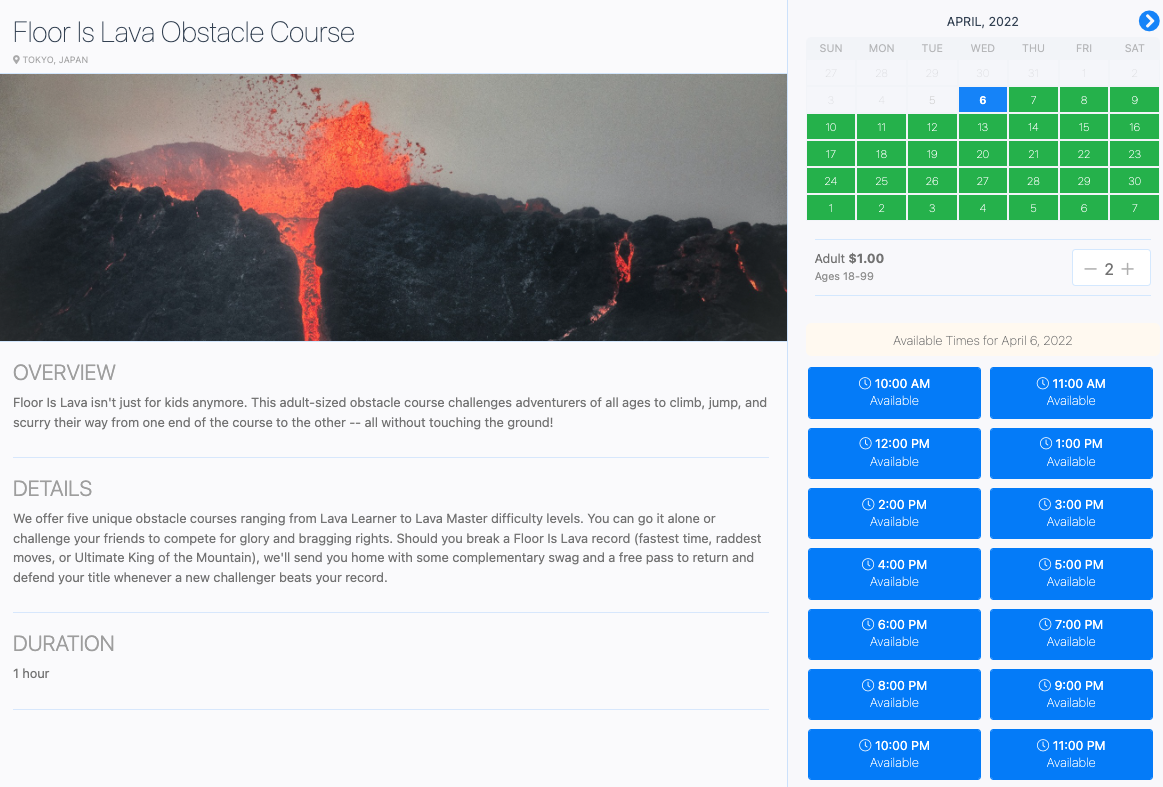
This is how the description information appears to customers in the booking widget:
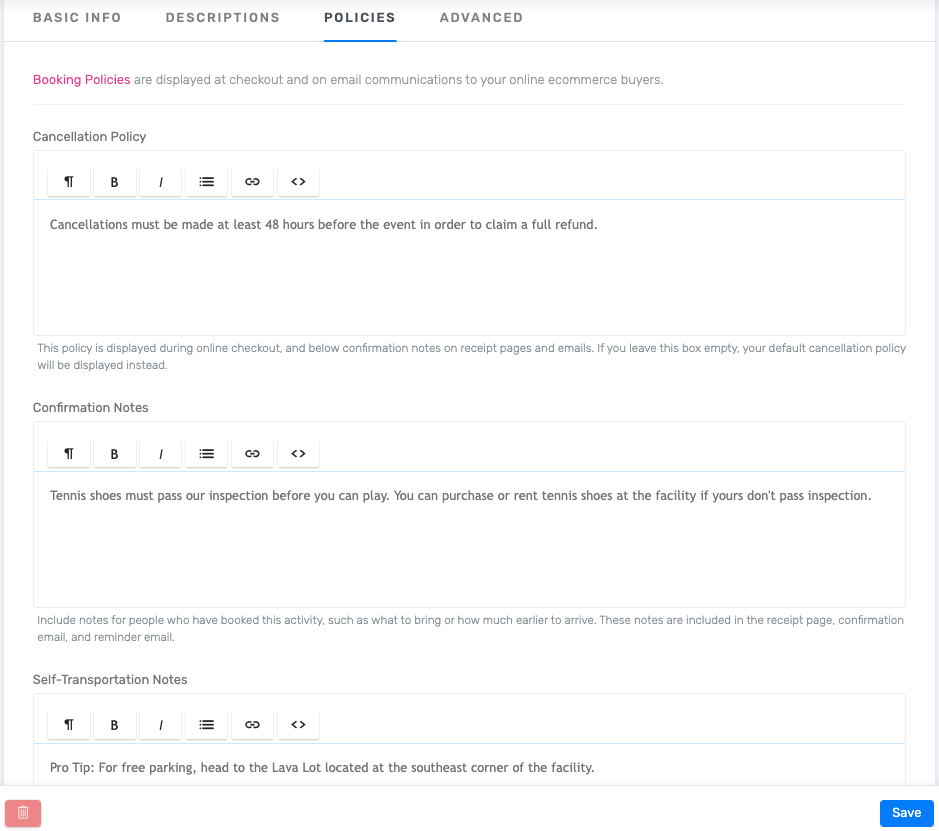
Policies
The information you provide in the Policies tab will be displayed during online checkout, in email confirmations, and on printed receipts. If you opt to leave these fields blank, the policies displayed will simply default to your global policy settings. If, however, you want to apply custom policies to this particular experience, fill in the corresponding fields here.
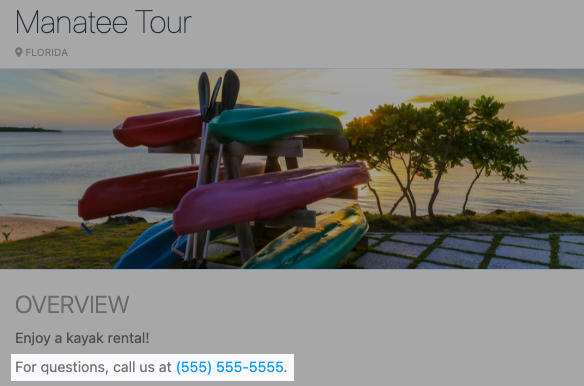
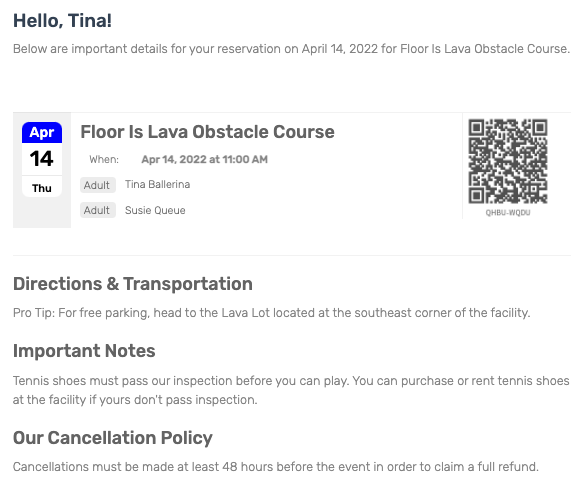
This is how the policy information appears to customers in booking-related emails:

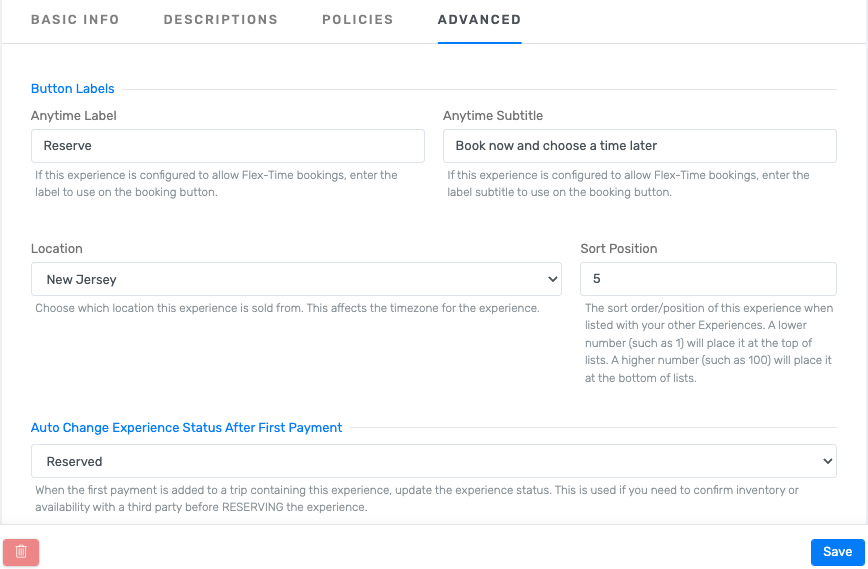
Advanced
The features that correlate with the fields under the Advanced tab are not required in order to publish the experience to your booking widget. If you later decide to set up one or more of these advanced features, you can return here at any point to update these fields.
For more information about these advanced features, please reach out to our Support Team.